 Save
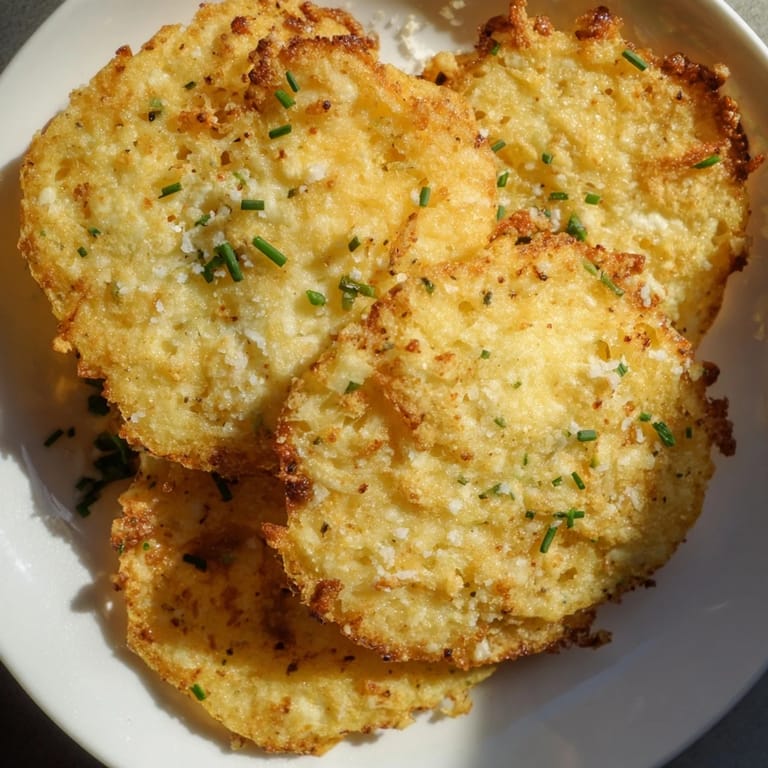
Save I stumbled across cottage cheese chips during a serious snack craving last winter when I was trying to eat more protein. The first batch turned out too soggy because I got impatient with draining, but once I figured out the trick of pressing out every drop of moisture, they became shockingly crispy and addictive.
My roommate walked in while I was pulling a sheet of these out of the oven and looked genuinely confused about why the kitchen smelled like garlic and victory. She tried one cautiously, then stole three more and asked if I could make them for our movie marathon that weekend.
Ingredients
- 2 cups cottage cheese: Fullfat gives you better crunch but lowfat works too, just look for small curds and really squeeze out that liquid
- 1/2 teaspoon garlic powder: This builds that savory base that makes people wonder what your secret ingredient is
- 1/2 teaspoon onion powder: Balances the garlic and adds depth without any raw onion bite
- 1/4 teaspoon smoked paprika: Totally optional but adds this gorgeous smoky undertone that makes them feel fancier
- 1/4 teaspoon freshly ground black pepper: Use fresh pepper here, preground tastes dusty and you want those little spicy hits
- 1/4 teaspoon salt: Just enough to enhance the flavors without making you thirsty later
- 1 tablespoon finely chopped chives: Fresh pop of color and mild onion flavor right at the end
- 1 tablespoon grated Parmesan cheese: Creates these incredible crispy cheesy edges if you sprinkle it on top
Tired of Takeout? 🥡
Get 10 meals you can make faster than delivery arrives. Seriously.
One email. No spam. Unsubscribe anytime.
Instructions
- Preheat and prep your baking station:
- Set your oven to 350°F and line a baking sheet with parchment paper or a silicone mat so nothing sticks
- Drain the cottage cheese like you mean it:
- Dump it into a finemesh sieve and press down firmly, then pat with paper towels until almost dry
- Mix in your seasonings:
- Combine the drained cottage cheese with garlic powder, onion powder, smoked paprika, pepper, and salt until everything is evenly distributed
- Shape your chips:
- Scoop tablespoon mounds onto the sheet, space them 2 inches apart, and gently press into thin circles about 2 inches across
- Add your toppings:
- Sprinkle chives or Parmesan over the tops now so they bake right into the chips
- Bake until golden and crispy:
- Slide them in for 30 to 35 minutes until the edges turn golden brown and the centers feel dry to the touch
- Let them cool completely:
- Leave them on the baking sheet because they keep crisping up as they cool down
- Lift and serve:
- Carefully peel them off the parchment and eat right away or store in an airtight container for 2 days
 Save
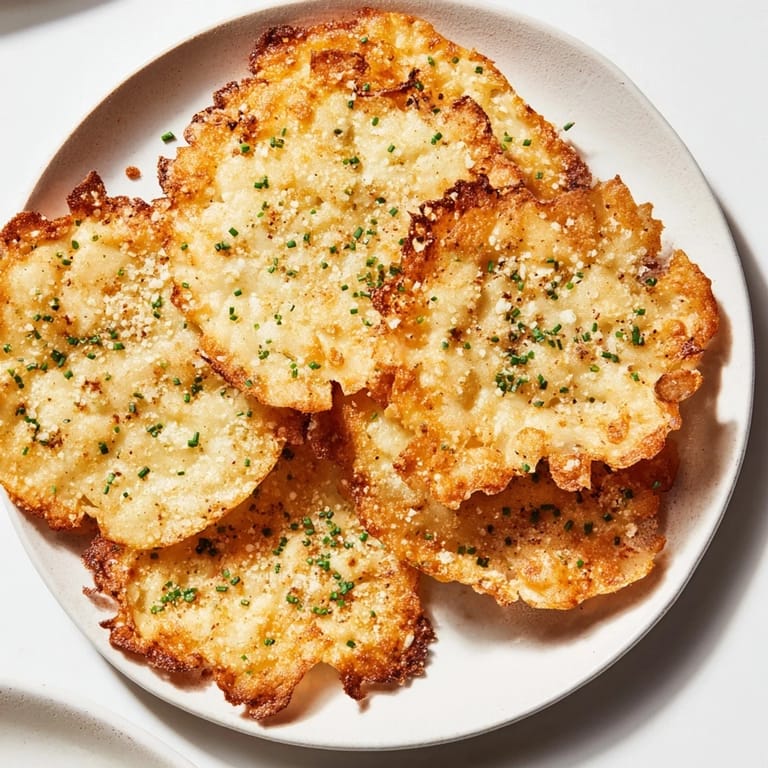
Save These became my goto during deadline weeks when I need brain food that does not leave me feeling heavy. Something about the ritual of making them, the way the kitchen smells, and the fact that I am feeding myself something wholesome makes long work sessions feel less lonely.
Flavor Variations That Work
I have experimented with so many seasoning blends and some are just better than others. Ranch seasoning mix works perfectly, Everything Bagel seasoning adds fantastic crunch and savory depth, and a mix of nutritional yeast with extra garlic creates this cheesy flavor without more dairy.
Serving Ideas Beyond Solo Snacking
These chips stand up to dipping surprisingly well. Greek yogurt dip, hummus, or guacamole all work, but my favorite is a quick tzatziki because the cool cucumber balances the seasoned crunch. They are also perfect crushed over salads instead of croutons.
Common Problems And Fixes
If your chips are not getting crispy enough, try baking them longer or spreading them thinner next time. Too brown means your oven runs hot or you spread them too thin, and sticking happens when you do not drain thoroughly or skip the parchment paper.
- Do not overcrowd the baking sheet or they will steam instead of crisp
- Check them at 25 minutes if your oven runs hot
- Let them cool completely before storing to prevent sogginess
 Save
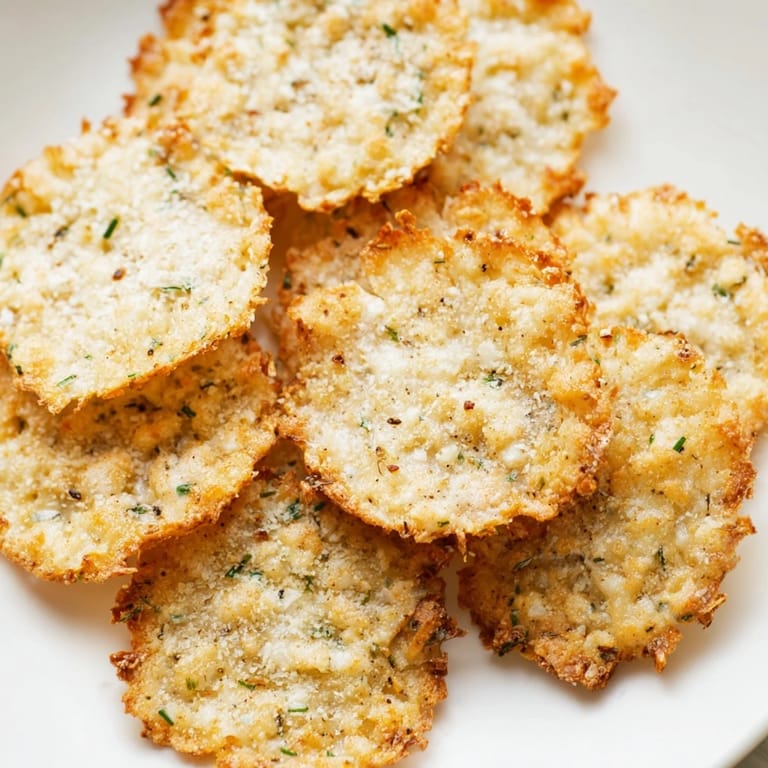
Save These chips taught me that healthy food does not have to feel like compromise and sometimes the simplest experiments in the kitchen lead to your new favorite snack.
Recipe FAQs
- → How do I ensure the chips turn out crispy?
Drain the cottage cheese thoroughly using a fine-mesh sieve and pat dry to remove excess moisture before baking. Flatten the cheese mounds thinly and bake until golden brown for optimal crispiness.
- → Can I add different seasonings to the mixture?
Absolutely. Experiment with chili flakes, dried herbs, or smoked paprika to customize the flavor profile to your liking.
- → What toppings work well on these chips?
Finely chopped chives and grated Parmesan cheese complement the savory base wonderfully, enhancing both taste and texture.
- → How should I store leftover chips?
Keep them in an airtight container at room temperature for up to two days to maintain crispness and freshness.
- → Are these chips suitable for gluten-free diets?
Yes, these baked cottage cheese chips are naturally gluten-free, making them a safe snack option for those avoiding gluten.