 Save
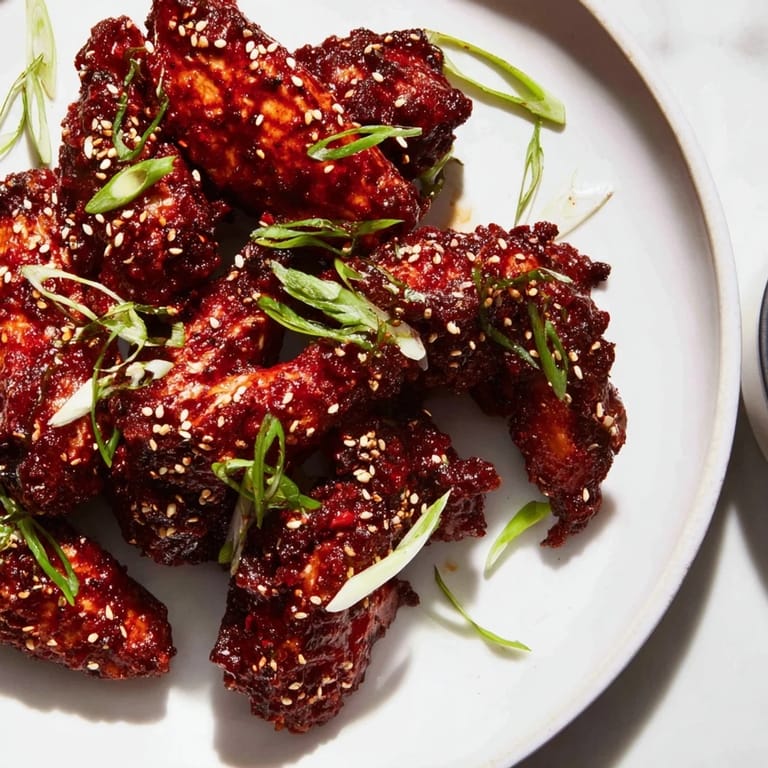
Save I was standing at the kitchen counter on a rainy Sunday, craving something sticky and bold, when I remembered a plate of wings I had at a tiny spot downtown years ago. The glaze clung to every ridge, sweet and fiery all at once. I didn't have their recipe, but I had honey, chili sauce, and a hunch. An hour later, my fingers were shiny with glaze and I knew I'd cracked it.
The first time I made these for friends, I watched them go silent mid-conversation, licking their fingers and nodding. Someone asked if I'd ordered them in secret. I didn't tell them how easy it was until the second batch came out of the oven.
Ingredients
- 1 kg chicken wings, separated at joints, tips removed: Dry skin is everything here, so don't skip the paper towel step or they'll steam instead of crisp.
- 1 tbsp baking powder (aluminum-free): This is the secret to crackly skin, it draws out moisture and helps the surface blister beautifully in the oven.
- 1 tsp kosher salt: Seasons the skin and helps it crisp, use less if you're sensitive to sodium but don't skip it entirely.
- ½ tsp freshly ground black pepper: Adds a subtle bite that balances the sweetness of the glaze.
- ⅓ cup honey: The sticky backbone of the glaze, it caramelizes slightly and coats every curve of the wing.
- 2 tbsp soy sauce: Brings umami and salt, deepening the glaze without making it one-note sweet.
- 2 tbsp sriracha or other chili sauce: Adjust this to your heat tolerance, I like it just enough to make my lips tingle.
- 1 tbsp rice vinegar: Cuts through the honey and keeps the glaze from feeling heavy.
- 1 tsp sesame oil: A few drops add a toasty, nutty undertone that lingers.
- 2 garlic cloves, minced: Fresh garlic blooms in the warm glaze and gives it a punchy edge.
- 1 tsp fresh ginger, grated: Bright and sharp, it wakes up the glaze and makes it taste alive.
- 2 tbsp sesame seeds: Toasted if you have time, they add a gentle crunch and nutty finish.
- 2 spring onions, finely sliced: A fresh, grassy contrast to the rich glaze, don't skip them.
Tired of Takeout? 🥡
Get 10 meals you can make faster than delivery arrives. Seriously.
One email. No spam. Unsubscribe anytime.
Instructions
- Prep the Oven and Wings:
- Preheat your oven to 220°C (425°F) and line a baking sheet with foil, then set a wire rack on top so the wings don't sit in their own drippings. Pat the wings completely dry with paper towels, any moisture will ruin the crispness, then toss them in a large bowl with the baking powder, salt, and black pepper until every piece is evenly dusted.
- Bake Until Golden:
- Arrange the wings in a single layer on the rack, making sure they're not touching, and bake for 40 to 45 minutes, flipping them halfway through. You'll know they're ready when the skin is deeply golden and crackles when you tap it with tongs.
- Make the Glaze:
- While the wings bake, combine the honey, soy sauce, sriracha, rice vinegar, sesame oil, garlic, and ginger in a small saucepan over medium heat. Stir frequently and let it simmer for 3 to 4 minutes until it thickens just enough to coat the back of a spoon, then pull it off the heat.
- Toss and Coat:
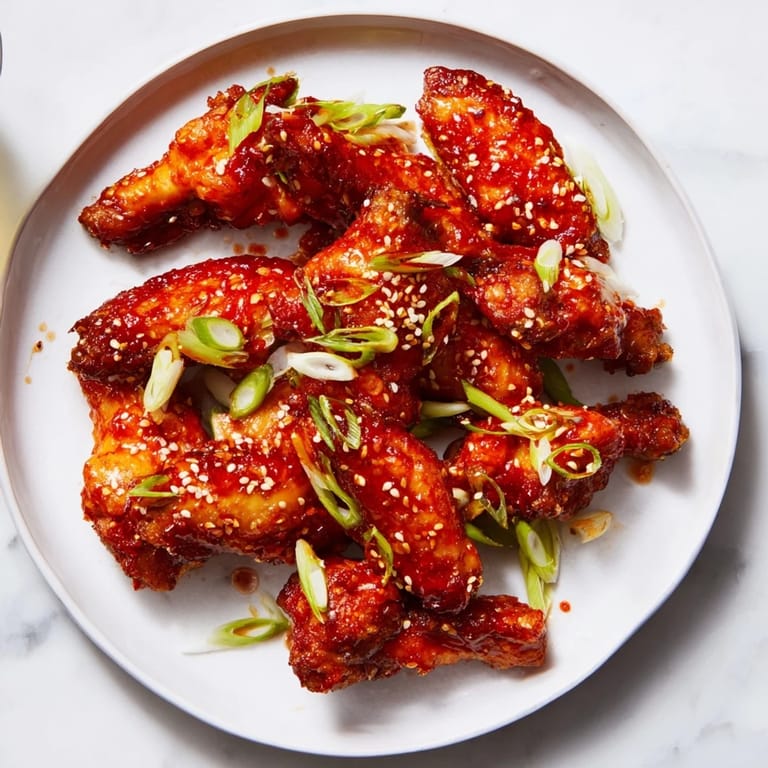
- Once the wings are crispy, transfer them to a large bowl and pour the warm glaze over them, tossing with tongs until every wing is glossy and sticky. Work quickly so the glaze stays warm and clings better.
- Garnish and Serve:
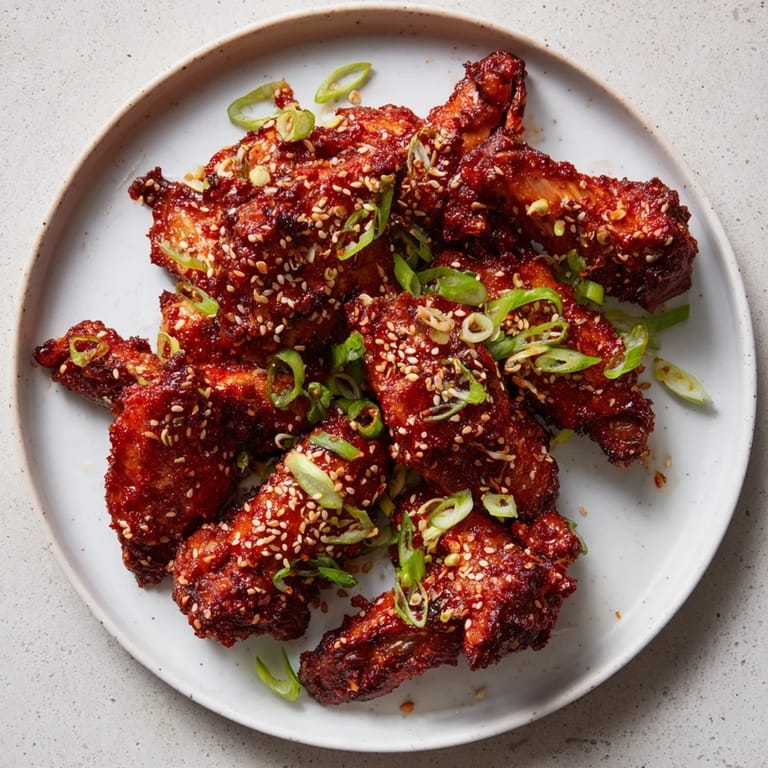
- Move the glazed wings to a serving platter and sprinkle them with sesame seeds and sliced spring onions. Serve them immediately while they're still warm and the glaze is at its stickiest.
 Save
Save I remember setting these down at a birthday party and stepping back to grab a drink. By the time I turned around, the plate was half empty and people were hovering, waiting for the next batch. No one talked about the cake that night.
Customizing the Heat
If you like things milder, cut the sriracha in half and add an extra tablespoon of honey to keep the glaze balanced. For those who chase the burn, stir in a pinch of red pepper flakes or a few drops of your favorite hot sauce right before tossing the wings. I once added a teaspoon of gochugaru and it gave the glaze a smoky, fruity heat that people still ask about.
Storing and Reheating
Leftover wings keep in an airtight container in the fridge for up to three days, though the skin softens as they cool. To bring back some crispness, reheat them on a wire rack in a 200°C (400°F) oven for about 10 minutes, the glaze will caramelize again and the edges will crisp up nicely. Microwaving will turn them soggy, so resist the temptation if you can.
Pairing and Serving Ideas
These wings shine alongside a simple cucumber salad or pickled vegetables, the acidity cuts through the glaze and keeps your palate fresh. A cold lager or a slightly sweet Riesling works beautifully, the carbonation or fruitiness tempers the heat without washing it away. I've also served them with steamed jasmine rice and a side of sautéed greens for a more substantial meal, and it feels just as right.
- If you're feeding a crowd, double the recipe and use two racks so the wings don't overlap.
- For a smokier flavor, toss the wings on a hot grill for a few minutes after baking and before glazing.
- Leftovers make an excellent topping for rice bowls or noodle salads the next day.
 Save
Save Every time I make these, someone asks for the recipe and I smile, knowing they'll be just as surprised as I was at how simple it is. That's the magic of a dish that tastes like effort but rewards you with ease.
Recipe FAQs
- → How do I get the chicken wings crispy?
Coating the wings with baking powder and baking them on a wire rack allows hot air to circulate, resulting in extra crispiness without frying.
- → Can I adjust the spice level in the glaze?
Yes, increase or reduce the amount of chili sauce or add red pepper flakes to control the heat to your liking.
- → Is it possible to substitute honey in the glaze?
Maple syrup works well as a substitute, offering a different but complementary sweetness to the glaze.
- → What is the best way to serve these wings?
Serve warm, garnished with toasted sesame seeds and sliced spring onions to add texture and fresh flavor contrast.
- → Can these wings be prepared ahead of time?
Wings can be baked and glazed ahead, but for best texture, reheat in the oven briefly before serving to maintain crispness.